Feb 28, 2015

February Fitness with Ash

It's the end of the month (bring on the Spring!), which means that it is also time to have an update with Ash!  Just by looking at her instagram posts (@ashyness), and fitbit stats, she killed it in February.  Go Ash Go!

Ash is back with her take on how the month went...

The beginning of February was a bit of a struggle… I was working for a week in Montreal! Yes, it was a fitness conference BUT, I don’t get a lot of time to workout and let’s be honest, the food in Montreal is unbelievable (confession: I did have poutine… more than once #SorryNotSorry LOL)


Alright, I decided to change it up this month with more dance workouts!! I LOVE to dance and if you can get an amazing sweat on while dancing, then hey, count me in!!!

First was a freestyle dance class that myself and another presenter presented at the Montreal Conference I was working at… (so yes, I guess I got one workout in!!!).  It was a mixture of Latin, Jazz, House, Modern and an all out dance battle!! SO MUCH FUN!!!

I also decided to grab my buddy Kyle and do some Sh’bam workouts when I got home. Haven’t heard of Sh’Bam?? It is a dance class at GoodLife Fitness! There is also a mixture of styles that our sure to make. you. sweat! (and, nope… no dance experience is required for sh’bam, just show up and have fun!!)


Time Out: another note about me, I have started getting REALLY bad shin splints a few months ago!!! During a 10k race last September I pushed myself, they were unbearable but on top of that, during the last km a pain I can’t even describe shot through my left foot and up my leg (I did finish the race BTW… CH said she would carry me to the finish line if I wasn’t so much taller than her!! LOL). A few days later the pain didn’t go away, I was diagnosed after a few x-rays with a Stress Fracture, DOH!!! So, now I have to be careful that my stress fracture doesn’t turn into a full blow fracture…


Back to February…

After two weeks of dance workouts as well as some basic bootcamp workouts, CH and I decided to order Shaun T’s new T25 program!! (I love me some Shaun T – I have done Hip Hop Abs and Insanity in the past and LOVED them!!! Why not try this one???)

T25 is a high intensity program that is only 25 minutes a day, totally doable!! CH and I received the DVDs on Feb 20th and promptly started the program on Feb 23rd… we are one week in and loving every minute of it and I feel great!! (1 week of T25 down and 9 weeks to go… hoping this will help with my body transformation!!) I am still adding cardio (low intensity – damn stress fracture/shin splints) and bootcamp 2-3x/week!! 


2 months down, 6 to go until my 30th birthday and to be in the best shape of my life… EEK!!! Bring on March… I am ready for you! (and warmer weather… come on Mother Nature!!)


Peace,

Ashy xx

Feb 27, 2015

#23 Sweet & Sour Extravaganza

I may have mentioned in a previous post that I am not the hugest fan of chicken.  I'm not sure what it is, but I would take a steak or ribs over chicken, any day!

But, as I don't steer clear of it... I just try to spice it up!  

I came across this Sweet & Sour Chicken recipe from the food blog, Natasha's Kitchen (http://natashaskitchen.com/2014/12/11/sweet-and-sour-chicken-recipe/) and figured I'd give it a go.  I did tweak it a bit, as there are only two of us.

Well, it was pretty awesome!

You'll need

Chicken Prep
2 boneless, skinless chicken breasts, chopped
Salt and Pepper to taste
1/2 cup cornstarch
3 large eggs, lightly beaten

1/4 cup vegetable oil

For the sauce
1/2 cup apple cider vinegar
4 Tbsp ketchup
1 Tbsp soy sauce
3/4 cup granulated sugar

1 tsp garlic salt

Preheat oven to 325 degrees F.


1. Ok, so first - take your 2 chicken breasts and cut them into squares.


Easy, right?

2. Add your cornstarch into a large ziplock, and slip the chicken inside, sealing the bag.
3. Give it a shake and get the chicken all covered with the cornstarch


4.  Crack your eggs into a medium sized bowl and mix.
5. Add the chicken into the bowl, completely covering them with egg


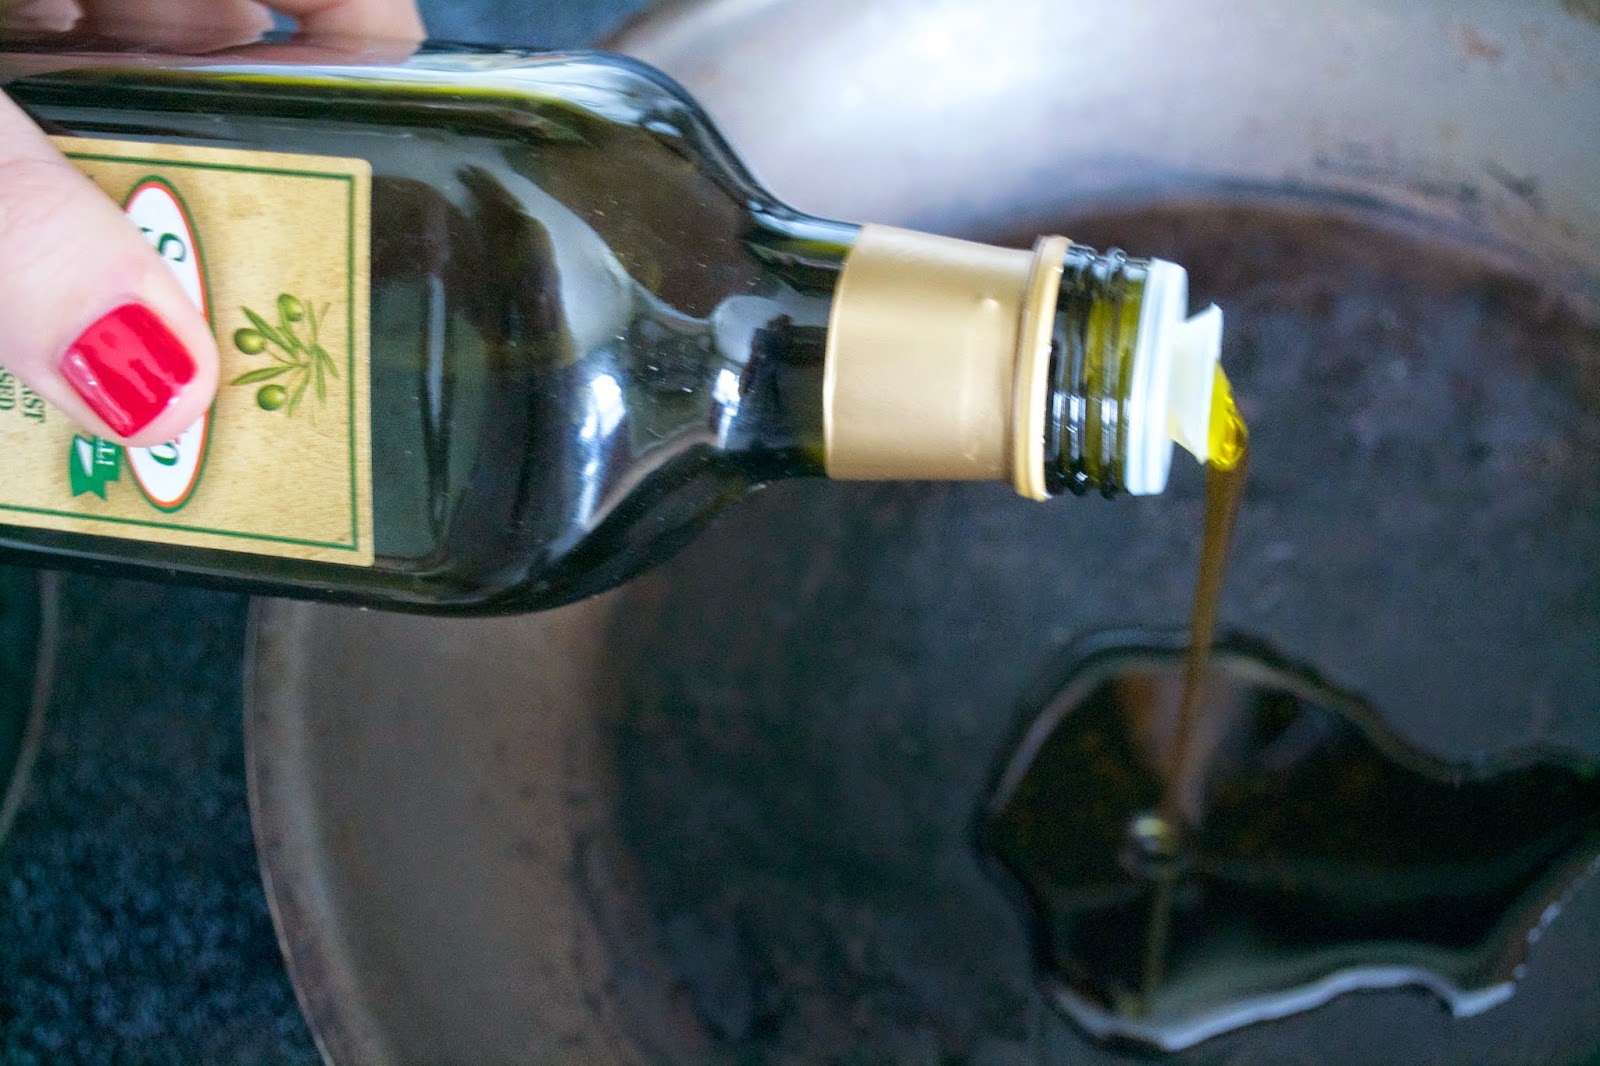
6. Add your oil to the pan, and get it hot!  Very hot!
7. Transfer the chicken into the oil, and keep it in there for only approximately 30 seconds.  You'll know to take it out when the chicken is golden - not brown


Once all the chicken is golden, put them in a 9 x 13 pan (or whichever size fits them all..) and have them wait for the sauce.


And now for the sauce!

8.  Mix together all the sauce ingredients: apple cider vinegar, ketchup, soy sauce, granulated sugar & garlic salt


9.  Drizzle the sauce mixture over the chicken and put into the oven.
10. Bake for 1 hour, flipping the chicken once to ensure both sides are coated with the sauce. 


 Not pictured below is the rice, that wasn't ready in time.  I'm still struggling on everything being done on time, but getting there!  Slowly, anyhow...


Lately, I've been loving asparagus with just olive oil drizzled on top, with a good shake of parmesan cheese on top.  I put it in the oven for the last 8-10 minutes of whatever is baking in there!  


The next post will be the Fitness post featuring Ash!  Her and I have been "competing" on FitBit, and she is really kicking my butt.  Personally, I am LOVING the fitbit and it really has been motivating me to get going.  It is eye opening how little you move, when working a) at a desk for 8 hours a day, and b) at home.  Now, I have Ash keeping me gear, and also my wedding day - coming up in 8 months!  

xo Jess


Feb 23, 2015

#22 Mamma Mia, Pizzeria!

A few months ago,  I was lucky to go to Italy on a work trip, bringing along Ken for the first week, and my dad on the second week.

In addition to the the fact that Italy is such an incredible country, the food was just how I expected it.

Everywhere we went, we heard 'Mamma Mia!' So, after the first several times of hearing this phrase, we added on '.....Pizzeria!' which we thought was a nice touch.  Well, maybe for us....


We didn't eat too much pizza while in Italy (ok, maybe we enjoyed our fair share...), but the pizza that we did have was incredible.


Since then, we've been working on perfecting our homemade pie, and tonight, I think we finally did it.

You'll need:

Pizza dough - we used a generic kind from the grocery store
Can of tomato sauce
Pepperoni
2 cups of s
hredded mozzarella cheese
Red Pepper
1/4 chopped white onion
Parsley
1 tbsp olive oil
Flour (to help roll the dough out)

Preheat the oven to 475 degree F

1. Sprinkle some flour onto a pan, and on the dough - to eliminate it sticking as you roll out the dough


2.  If you're fancy, throw'er up in the air!


2.  Pour the sauce into the stretch out dough and spread around to cover the base
3. Sprinkle some shredded mozzarella cheese on the bottom
4. Add your sliced pepperoni, chopped onion
5. Sprinkle the remaining mozzarella overtop the pepperoni (but not too heavy, too much isn't a good thing!)
6.  Glaze the crust with a light covering of olive oil


7.  Bake in the oven for approximately 15 minutes, or until the the cheese is completely melted and the crust is slightly browned


Bongiorno, delicious!!!


xo Jess

Feb 21, 2015

#21 Latkes & Snowy Saturdays

Well, last week was a bit of a bust on the cooking front!  Between dinners out, being at the cottage and not feeling well - not many meals were made.  But, I did manage to try out some potato pancakes, or latkes, as they are also know as.

My mom makes the best potato pancakes, so I asked her for her recipe.  Here's what I did (for 2 people)...

You'll need:

4 medium sized potatoes
3 tbsp flour
1 egg
Pinch of salt & pepper
Vegetable Oil for frying


1. Peel the potatoes then shred them into a bowl
2. Add egg, flour, salt & pepper and mix. 


3. Pour oil into a pan and heat
4. Scoop the potato mixture into the pan - let it sizzle!


5.  When one side is brown, flip.


7.  Once both sides are brown, they are ready.  Serve!  I personally like them with apple sauce, but Ken enjoyed them with ketchup.


Since today was such a beautiful snowy day, we decided to go for a hike on a nearby trail.  Although I'm pretty much done with winter, the snow really was pretty and the hike was a great way to start the day!


xo Jess

Feb 11, 2015

#20: Sassy Homemade Lasagna

I jumped into the deep end with this one.  I have never made lasagna, nor could I even guess at how to make it [oh hi, thanks Google!].

Thanks to Allrecipes.com, I used the 'World's Best Lasagna' as a guideline, and tweaked it as necessary.

You'll need:

1 lb extra lean ground beef
1/2 cup minced onion
2 cloves crushed garlic
1 can crushed tomatoes (28 oz)
2 cans tomato paste (6 oz)
2 cans tomato sauce (6.5 oz)
1/2 cup water
2 tbsp white sugar
Sprinkle of basil

Pinch of salt
Pinch of pepper
4 tbsp parsley
12 lasagna noodles (I used raw, then cooked them, but you can buy them fresh as well)
16 oz ricotta cheese
1 egg
2 cups shredded mozzarella cheese


Directions

1. Pour a touch of oil into a frying pan and add the onions and garlic.  Add in the ground beef and brown
2. Add in the crushed tomatoes, tomato paste, tomato sauce and water.  Stir in the sugar and basil.
3. Simmer for 20 minutes


4. In another pot, bring 4 cups of water to a boil before adding in the lasagna noodles (if you bought the noodles fresh, ignore this step!)
5. Once the noodles are cooked, drain and rinse with cold water


6. In a mixing bowl, mix the ricotta and egg together.

Now, pre-heat the oven to 375 degrees F.


7. In a 9x13 pan, put a cup of the tomato meat sauce on the bottom of the pan


8. Lay the noodles down lengthwise


9. Spread about a cup of ricotta cheese mixture on top of the noodles
10. Sprinkle some mozzarella cheese on top
11. Repeat steps 8-10


12. Put in oven and bake for 25 minutes, with foil on top.  After 25 minutes, take the foil off and bake for 25 minutes more

I sprayed the bottom of the foil with bakers spray, just so it wouldn't stick to the cheese.


Get in our bellies!  I wish I caught Ken's face on camera when he took a bite.  I was quite proud that this turned out so well!  I could chalk it up to beginner's luck, but I guess we'll find out next time...

xo

Feb 7, 2015

#19: Slutty Brownies & Betty Draper

My good friend Olivia (from reLive Fashion - check her out!) and I decided to have a girls night last night, complete with a fantastic and danceable playlist, take-out and a delicious amount of red wine.

Olivia is a stylist who works with pieces from vintage and second hand shops.  How cool is that!  So, as I love to bake and she loves to style, we decided to join forces and combine the two things we love.  

Liv styled me into a Betty Draper version of myself, while I whipped up a batch of these slutty brownies (taken from The Londoner). 

You'll need:

1 box brownie mix
1 box cookie mix
(whatever ingredients the above mixes call for, as each brand can differ)
2 packs of Oreos

Pre-heat oven to 350 degrees F.

1. Mix the cookie mix, as per the instructions on the box
2. Pour mixture into greased tray
3. Cover the cookie mix with the oreos, by placing them in a line - until the whole thing is covered
4. Mix the brownie mix, as per the instructions on the box
5. Pour on top of oreos, as evenly as possible
6. Put tray into oven, bake for 30 minutes

Delicious!


This beauty, Liv, turning me into Betty Draper..


All in a nights work!


Worth the splurge!


xo


Feb 3, 2015

#18 Guilt-Free No-Bake Oatmeal Bars

Working downtown, there are so many places to buy lunch, or grab a mid-afternoon snack.  It adds up in cost, but it also adds up in those damn calories!

A while ago, a friend and I were talking about Team Beachbody - where she was a coach.  I was intrigued and signed up!  Although I didn't continue with the Beachbody workouts (I am onto NTC now - and LOVING it!), I still have some of the delicious Shakeology powder left, and so have decided to put it to use.

What's nice about this, is that not only is it quick, easy and there is no baking involved, it is also fairly healthy for you.

You'll need: 
4 scoops of Chocolate Shakeology (or another chocolate flavoured protein powder)
3 cups rolled oats
1 tsp cocoa powder
Dash of Cinnamon
1 cup almond milk
1/2 cup peanut butter
1/2 tsp vanilla extract

1. Combine the protein, oats, cocoa powder and cinnamon in a large bowl and mix well together
2. Add milk, peanut butter and vanilla extract and mix well
3. Place in an 8x8 inch greased pan
4. Cover with plastic wrap and press down to flatten into pan
5. Place in the fridge for a minimum of 3 hours
6. Cut into 12 bars and enjoy!!


They are pretty gooey and chewy, but feel satisfying and you don't get the guilts after - always a plus!!

xo 

Feb 2, 2015

#17 Glazed Honey Balsamic Chicken Thighs

Before I get started on sharing the recipe, I just have to say how much I love, love, LOVE this.  I had a friend over for dinner the other night, and so this was perfect to prepare the night before, allowing the chicken to marinate thoroughly. 

Ok, so - I find that when I use boneless chicken thighs, it's just so much easier, so let's start with that!

You'll need:
6 chicken thighs (seems like a lot for 2 people, but this is perfect for leftovers)

Marinate
1/2 cup Balsamic Vinegar
1/2 cup Honey
1/4 cup Soy Sauce
4 Minced Garlic Cloves
2 tsp Ginger

Glaze
(from the leftover marinate, while the chicken is baking)
1 tbsp Cornstarch
1/2 tsp Salt

The Night Before (or at least 3 hours before cooking)

1. First, add in all the ingredients of the marinate into a large ziplock bag
2. Add chicken, shake around until it's completely covered, then store in the fridge until it's ready to be cooked (approx 3 hours before)

The Day Of..

3. Preheat oven to 350 degrees F
4. On tray, put chicken into oven for 30 minutes.  Make sure any excess marinate is dripped off the chicken before putting in the oven.

The Glaze

5. While the chicken is in the oven, pour the marinate into a pan on the stove, medium heat
6. Add cornstarch and 2 tbsp of water to marinate, continually stirring to thicken
7. The marinate/glaze must come to a boil, in order to remove any bacteria from the raw chicken
8. Remove chicken from oven, brush with glaze and serve!


Oh, and check out these awesome teas and gift package that my friend, Taryn, gave Ken and I for our engagement!  How sweet is she?!